Monday 25 April 2011

A Very Different Sort of Mini......

The Easter Bunny delivered an Easter Egg with a difference this year. Here is my latest mini, she is 8 weeks old and as cute as a button. Her name is Lily and she is a cross between a pug and a shih tzu.
I have been thinking about getting a dog for a while now as I have been increasingly concerned that, with my youngest son off to University in September, I could easily succumb to my natural agoraphobic this winter.
 I have only ever had cats and am not a great dog lover. They growl, they bite, they bark, they smell, they are a tie, they do huge poops, they pee in the house and they shed hair all over the house......Some of the many reasons I have never wanted a dog!!
 But....they all need to be walked and that was the main incentive for me. A dog, even a very small one, will make sure I go for a walk every day. As good as it sounds to spend the winter in my PJ's making minis, I don't think that is the best way to deal with my empty nest!
 So after months of googling such questions as: "What dog thinks it's a cat?" and "Which breed of dog barks the least?" I finally discovered the pug cross breeds. She looks a bit like Gizmo from that wonderful "Gremlins" film but as is the way of puppies everyone has fallen in love with her.
  It has also been the perfect weekend to bring her home, lots of the family around and the most glorious weather. 
The biggest surprise has been the similarity between bringing the puppy home and my own babies. Feed them, clean them, up in the night ( to pee for the puppy, to feed for the babies!!), plus all the kit! A whole new world of gizmos and gadgets.
At the moment we are having lots of fun with her even if I do keep walking around the house sniffing!!
Now are puppies allowed in at the Kensington Festival? 
Hope you have all enjoyed your Easter break.

Friday 22 April 2011

Leaky Cauldron Stained Glass Windows All Done!

I must admit there have been times when I have wondered why on earth I didn't just use the windows that came with this kit! The trouble is once I decided on the look I wanted for The Leaky Cauldron I just knew I had to make square Tudor-esque windows.
 Now, after much scratching of the head and many broken nails they are complete and I am so pleased I didn't go for my usual quick fix approach. I am beginning to give each project time to develop and play a little rather than simply buy whatever easy fix material is on the market.
 The leaded windows went in very easily and some did not even need a touch of glue as the lead gave the acetate extra strength.
 I added some glass paint to the edges, not too much as I like to be able to see in my kits. I chose brown paint which seems to have been the right choice. Again I took my time and played with different colours on an extra window I leaded up with the intention of trying out a few different colours.
This is the finished exterior. I still have lots of finishing touches to add of course but the main building work has been done. I think this is the first project that has come out more or less exactly as I had envisaged at the start.
I have so many of you to thank for that. I have had so much encouragement and support, as well as helpful ideas and advice. These have made me try different techniques and accept that when it doesn't work......throw it away and try again! And again!
Hooray for Blogland!!!

Thursday 21 April 2011

Harry Potter Shadow Box Number 2 Birthday......

Been a bit chaotic recently for a whole number of reasons but I did manage to finish the second of the shadow boxes for my daughter's 20th Birthday on Tuesday. Here is my gorgeous Grace with the smile every mum wants to see on their girl's birthday. I think she liked it!
 Grace decided that Dobby was really Creacher because of the Sirius wanted poster on the back wall. Who am I to argue?! I have tried with the photographs but I couldn't avoid the reflections. I hope you can still have a good peak inside.
 I added a few extras like the basket of mandrake fruit which are simply dried juniper berries. I can't remember where the wooden basket came from but it was perfect for the scene.
 The wooden fork, spoon and chopping board were part of a selection of raw items I bought on Ebay ages ago but have never used as they were a little to big for 12th scale. They have been stained and painted. 
I am not sure if you can see the book at the front it is called "Recipes for the Cauldron Challenged", which I purchased on Etsy a while ago from Briarwood Miniatures. Perfect for the house elf who filled this bubbling cauldron!
I have really enjoyed filling the shadow boxes and am already planning the October one for my youngest son!! 
I love going to the theatre and am lucky enough to live close enough to London that we can go reasonably regularly. It has been a birthday tradition for quite a few years now for me and my daughter, in that I take her to see plays that she probably wouldn't choose to go to if she was paying for the tickets. Grace loves musicals. Me I am a drama girl. This year I picked In a Forest Dark and Deep by Neil Labute with Matthew Fox and Olivia Williams. 
It was on at the Vaudeville Theatre on The Strand which is a very intimate and has a beautifully restored  interior. Just the right venue for this play as the audience is so close to the characters. We both really enjoyed the play and were surprised by just how good Matthew Fox was. It is quite a brave choice for him, as with only two characters in the play there is no place for him to hide!
Before the play we ate at Smollenskys on The Strand, our favourite place to eat when in this area of London. The food is always good and served very quickly, ideal for pre-theatre meals. 
It is very popular with all types of customers and it is a good idea to book a table. I love the atmosphere of tourists, young upwardly mobiles, families in from the country, ladies who love to shop, city gents and me!!
Have a fabulous holiday weekend everyone. We will be doing family and bar-b-ques in this marvellous weather we are having in England at the moment. Am off now for a bit of catching up!!

Thursday 14 April 2011

Why Not Have a Look..........

At a new blog by a lovely lady called Natalie. It is full of lots of ideas and a recent candle holder tutorial  is one I will definitely be trying out.
Natalie is completing a room box at the moment and is trying out many different materials and methods.
 I am sure she would be really pleased for other bloggers to stop by and say hello.

Wednesday 13 April 2011

Bubble Making.......Why You Should Follow Instructions!!!

When I was first planning my Diagon Alley project I decided that one of my shops would be the Cauldron Shoppe that stands next to the Leaky Cauldron. In preparation for this I purchased a very cheeky cauldron from the Etsy shop of 
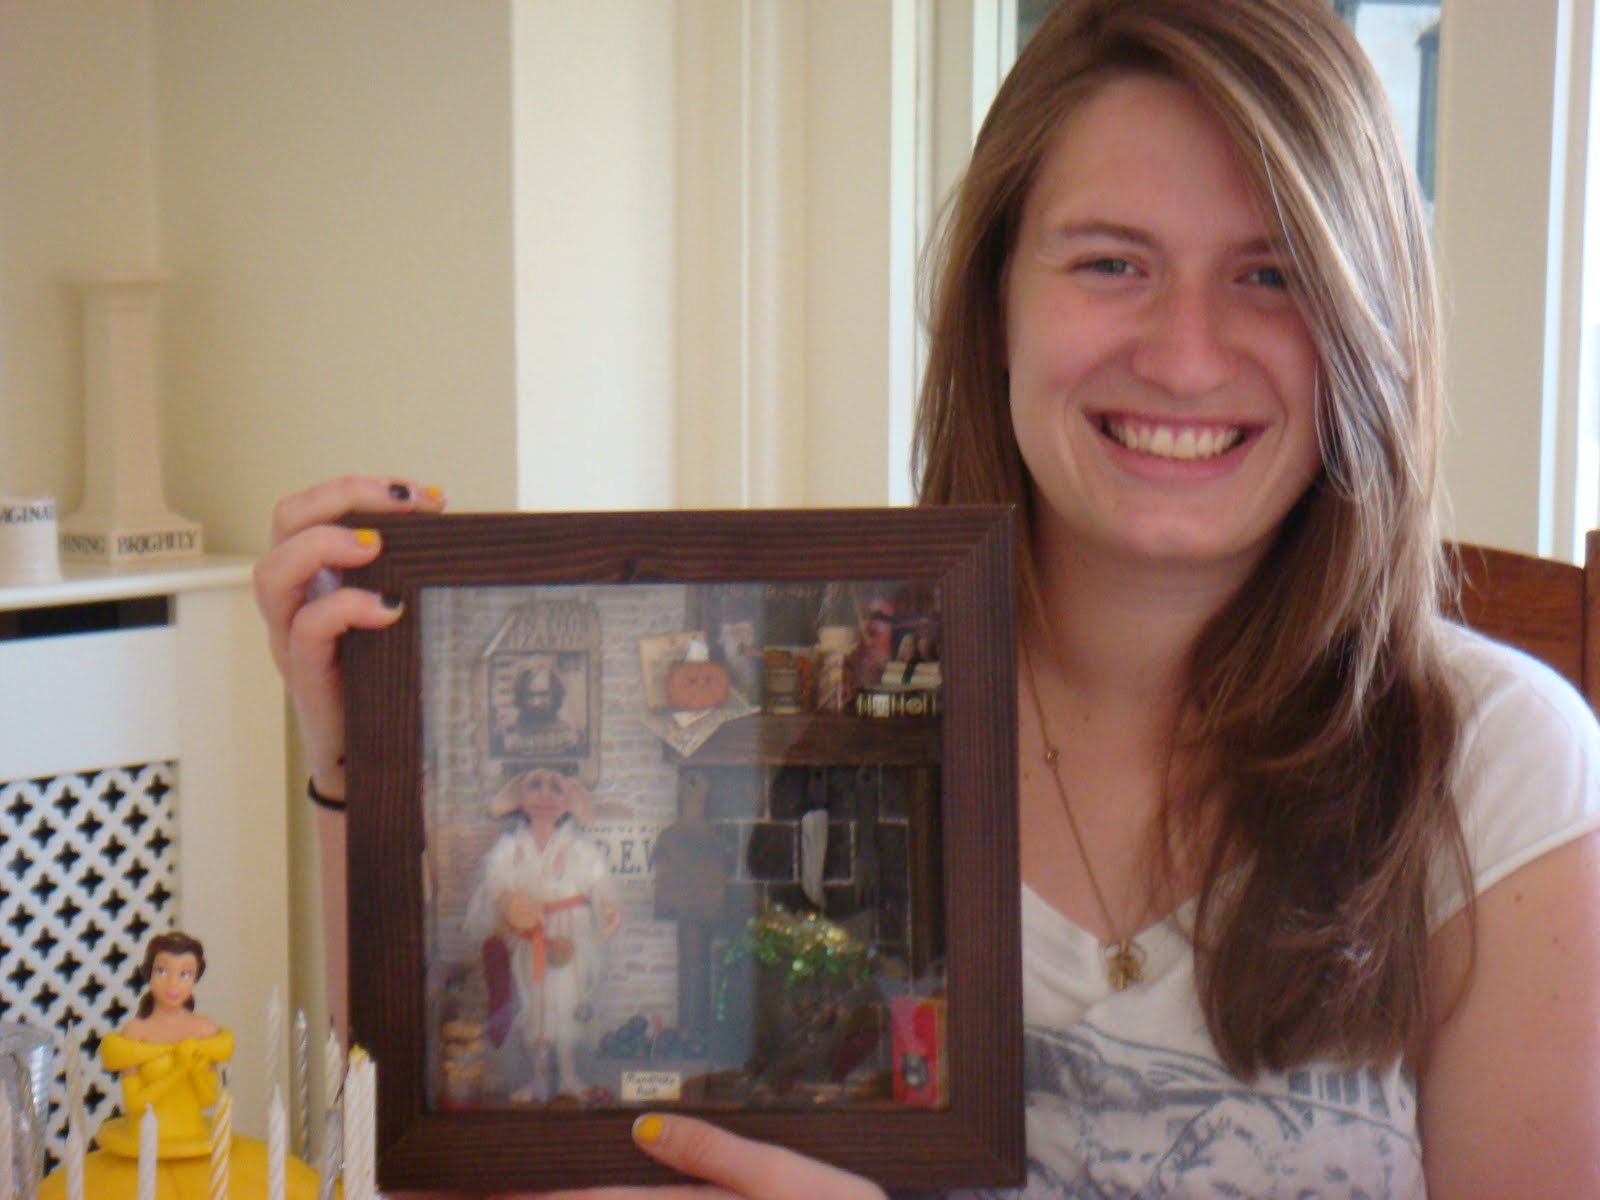
Debie Lyons. Unfortunately the Sid Cooke shop turned out to be a liitle too small for the cauldron so I decided this fun piece could go with Dobby in the shadow box, plus I could experiment with the bubbles.
Now if you want to find out how to do this properly I would suggest you make haste to Nikki's blog immediately and follow her wonderful tutorial. Here Nikki explains everything is great detail including making the cauldron. It's fabulous and I read it all through carefully but.......was too impatient as usual.
 These are the products I tried out. One by Sculpey and one by Fimo. Again I read all the instructions which were very short and sweet!
 These fabulous beads are the really essential part of the whole process, I think I discovered these on Debbie's blog, Tiny Treasures, which is a great resource site. I bought them from OOAK Artist Emporium in the US. They have a whole range of tiny beads but these are the ones they suggest for bubbles. There may be a UK stockist but I could not find one. 
 They range in size from a really tiny 2mm up to the largest of 6mm. These are the 4mm beads and you can see how the light reflects through them.
So I have everything I need but a big problem. The cauldron is too deep for the shadow box. Never mind I think, I will cut the back off and then it will sit neatly against the back wall. What could have possessed me?! I did saw the back off but it certainly was not straight, but it did now fit. 
I filled the interior with some left over Fimo and baked the whole piece. That was fine, the fimo hardened and I began playing with the bubbles.
This is the back view of the cauldron. The green fimo filled the hole nicely and I have piled the bubbles on top. There was a huge flaw in my plan though that I can't believe I didn't solve at the time.
I filled the hole but did not provide a back edge to the cauldron. This meant every time I piled on the bubbles the fell off the other side!!! 
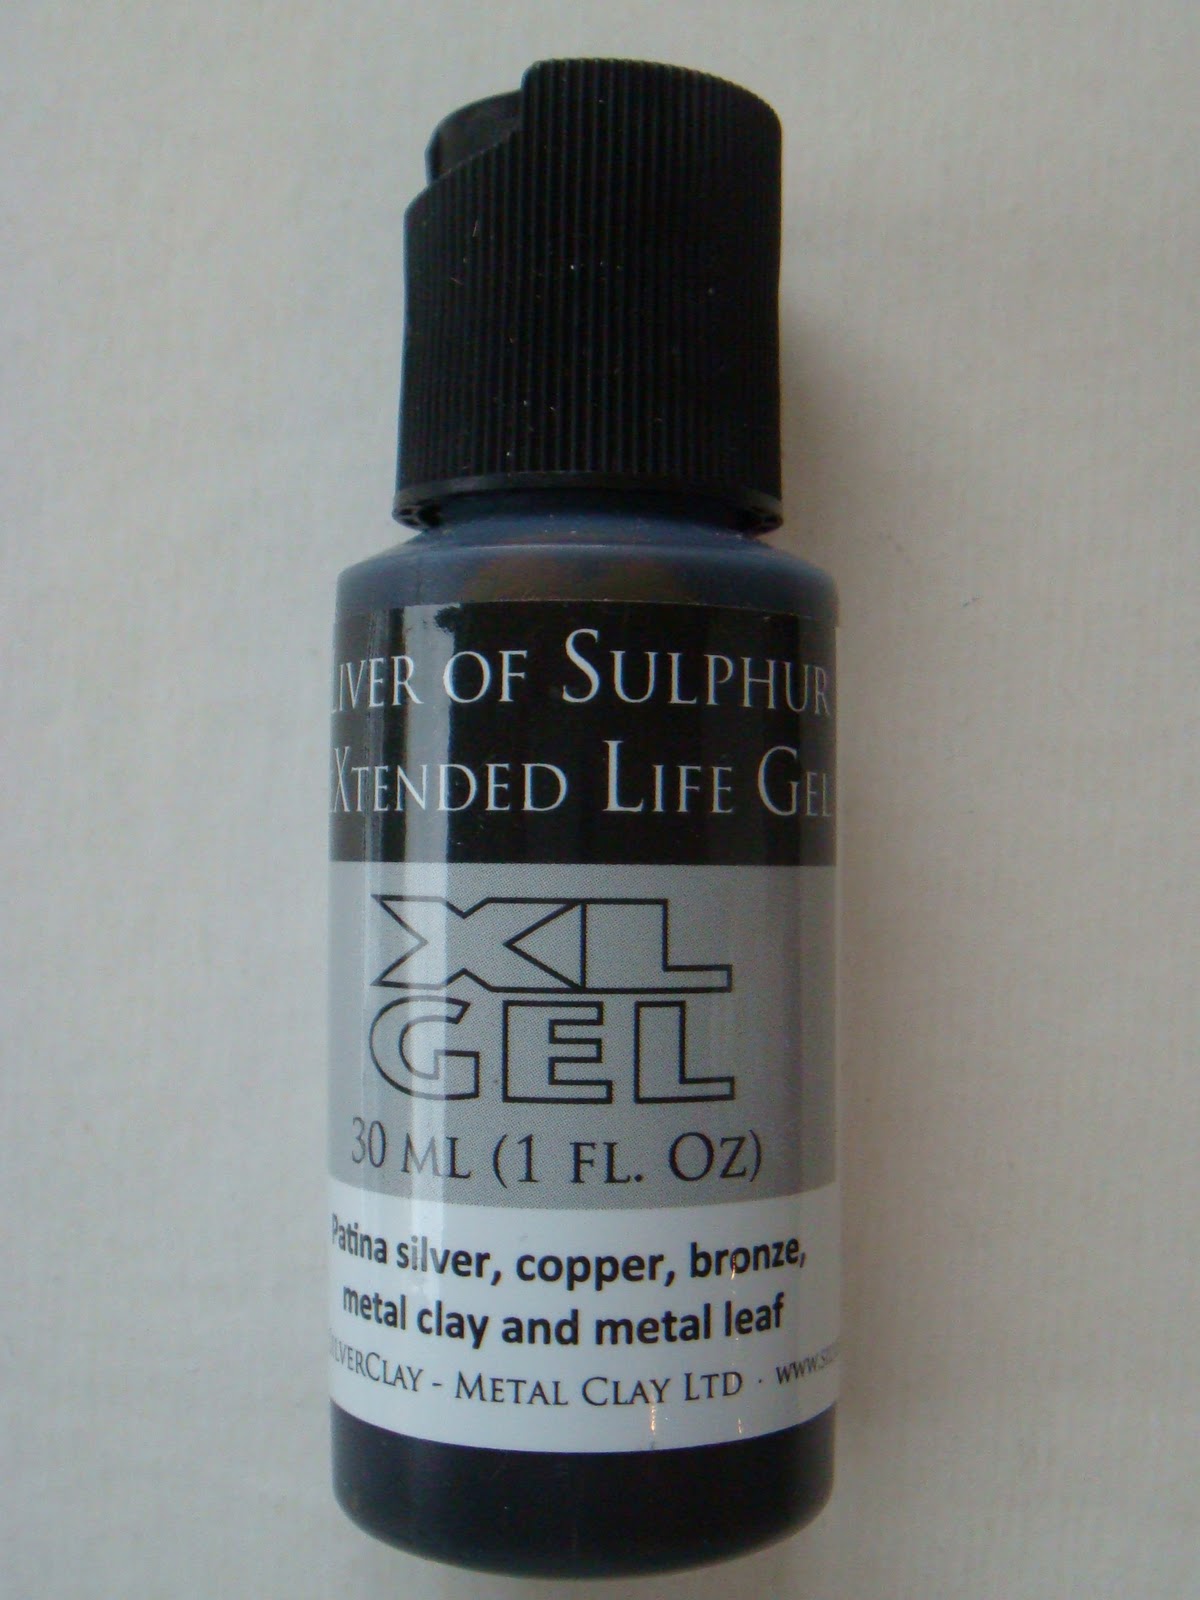
 Deep breath.....I started with the Fimo Deco Gel. Poured a small amount into a glass dish and added a very small amount of green acrylic paint, you can see the strength of colour in the bottom layer of bubble gunge. I used far too much paint and too much of the gel for the amount of bubbles I added to the mixture.
 This resulted in a very slimy look and the bubbles have been more or less lost. The mixture did however run over the edge quite nicely. 
I then baked the whole piece in the oven again at about 120 degrees for about 15 minutes.
 My next mixture was using the Sculpey which didn't seem quite so sticky. This time I added only a cocktail stick of the green paint and it turned the mixture a very pale green. I added more 'bubbles' this time including some of the larger 6mm beads.
 It was at this point my stupidity reached idiot level. Although this mixture was nowhere near as runny I beads would not stay atop the cauldron and fell off repeatedly. At no time did it occur to me to build up the rim.......but, eventually I did manage to give the cauldron a crown of paler green bubbles after about three separate bakings.
 These are much paler and more iridescent, although not as pale as in the photograph the sculpey mixture did lighten when baked and the Fimo darkened with each baking.
All in all I am reasonably pleased with finished piece. It is a bubbling cauldron but next time I will not be quite so gung ho and take a lot more time and care with the layering. Neither product seemed any the worse for wear when left in the bowls so you can take your time between bakings.
It also seems quite hardy for let me share another tip......Always check you have put your oven on the correct setting. 
I use my small oven when baking Fimo etc. This oven is also a grill; turn the knob left for the grill and right for the oven. I had baked the piece at least four times before I smelt a slight burning, the cauldron had become slightly taller by now, and realised I had the oven on the grill setting!!!

Tuesday 12 April 2011

Dobby Shadow Box.........Birthday Present Number Two

Having made the Harry Potter character shadow box for the 22nd birthday of my eldest son, it seemed only fair to make one for my daughter's 20th birthday next week. I knew exactly what I wanted to do and what I intended to include and began with the basics.
 Despite looking everywhere the deepest boxes I have been able to find are only one inch, so I had to line the interior with strips of balsa to extend the depth to two inches. I then used up some left over stone wallpaper and ceiling paper for three of the sides.
The walls were then grimed a bit and then I glued on some Harry Potter printies and other wizardly items.
 I found all these using google images and then printed them on tea stained photo paper. I also used my little magic pot of MicroGlaze which is definitely my new best friend.
 For the floor I used some left over Richard Stacey roof tiles which I grouted after giving them a good PVA/water wash. They were still a bit of a pain to clean off mostly because of the tight space I was working in. These look a bit bright and new at the moment but I will give them a grimy wash to tone them down.
 And here he is the star of the show, looking out on the world but a bit shy at the moment.
 Dobby!! By the wonderful Jain Squires. I bought him at a Kensington Show about a year ago for Diagon Alley and although he is perfect in every way I decided my daughter would love him. 
 The back wall is also papered in stone but I have added a fireplace with some left over slate. This will house a bubbling cauldron by Debie Lyons hopefully on a log fire. This will be interesting as I have never attempted bubbles before!! 
 A bit of a dress rehearsal. Dobby fits the extended depth thank goodness. The fire place mantle is dressed with various HP printies and a 'Hocus Pocus' movie poster because my daughter loves that film! There is also one of Wendie's super pumpkin candles and a wonderfully turned mortar and pestle from one of my favourite sellers Ashwood Designs
 I filled the mortar with soft gunge and then laid the pestle on the top because it was so beautifully turned I didn't want to cover it up!! The large book was part of a wizard set from Pear Tree Miniatures that I have set aside for Flourish & Blotts.
 The fireplace is topped by a photo of the two Dumbledore's in  a frame I originally made for the Leaky Cauldron. As it was the perfect width for the mantle I cut it down added a bit of gold rub 'n' buff before gluing the picture in place.
Of course there had to be some mention of S.P.E.W even if the house elves don't always approve.
At the moment my bubbling cauldron is cooling down so I hope to be able to show you how it has gone tomorrow.
I hope the sun is still shining in your part of the world, we had lovely sunshine today but a very chilly north wind. I don't mind how cold it is as long as that sun keeps shining!!

Thursday 7 April 2011

A Nice Little Pot Of........

Once upon a time I loved a nice little pot of Chanel face cream or a gorgeous little pot of Clarins eye gel or even an unusual little pot of Origins mushroom face pack. Well those days are gone because now I am much more likely to be found putting my dirty little fingers in to little pots like this one. 
 I first read about this product on a decoupage site and I thought it was an ideal solution to my printies problem. I have found that my ink jet images are prone to smearing when I seal them with artist varnish or similar, and even if they don't smear they often look a bit 'flat'.
This 'glaze' is like a very light wax which you simply apply with your finger in very small amounts. You can also use it on wood - I tried it on a couple of wooden picture frames with success.
My Diagon Alley project will obviously involve a lot of printies and labels and packaging so I wanted to try this out on pictures I had in my stash to see how it worked on paper.
I have to say I loved the effect. The colours were enhanced and the paper has a very subtle glaze, which can be buffed up if you wish.
Definitely a nice little pot.

Tuesday 5 April 2011

Aging the Leaded Windows.......Using the Liver of Sulphur Gel

Having decided to try out the lead roll method for my windows I then researched the Internet looking for methods to distress the shiny appearance.
I found lots of very different advice and methods, some of which needed a chemistry degree and an industrial laboratory in your garage to complete! While others seemed more than a little dangerous!
Anyway, eventually I found this product,
......Liver of Sulphur XL Gel. This product is used in jewellery making and is perfectly safe for home and hobby use.
 I read the very simple instructions on the bottle and began experimenting on various strips of the lead. Some I sanded and some I left exactly as they come.
The small grided piece is for the door and you can see the gel painted on.
You can dilute the gel or use it straight from the bottle. I decided to paint it on straight from the bottle as I thought it would go on easier and not run too much. In fact it did go on very easily but I then go a little confused. I left the gel on and watched, and watched.......
In my mind I thought I would see an immediate reaction and would have to wipe it off pretty quickly to avoid the lead darkening too quickly. Well as far as I could tell not a thing was happening.
So I decided to wipe this layer off and start again. Then there was a reaction! Phew!! My workroom smelt like a school corridor on the last day of term.....remember stink bombs? Awful, awful smell everywhere. They should warn you about this on the bottle. Yuk!
 But.....the lead started oxidising little by little and after about 2 hours the results looked like this. 
When the colour reaches your preferred shade you paint or rub on a corn starch or bi-carbonate of soda mixture, to stop the oxidisation.
Even with all the rubbing and wiping down the glue backing of the lead has held up well and the window seems fine and ready to install.
Here are some of my practice strips. The top one is the lead as it comes off the roll, it looks a bit bronzed  but the colours are black and grey.
The second strip has been painted with black acrylic paint and then sanded.
The third strip has been sanded and then had the gel treatment.
I can see this product coming in very handy of all sorts of metals if you don't mind the smell!
They also recommend using gloves but as usual I ignore all such advice as I never intend touching the stuff. I was fine as I used a brush and baby wipes so I didn't get any on my skin. You can dunk whole items in the diluted form so I expect you should definitely wear gloves for that.
Tomorrow I am going to buy some nose clips and then I will be ready to finish the rest of the windows!!


Monday 4 April 2011

Making Leaded Windows......I Have Had a Go At Last!

After lots of very useful advice and much encouragement from fellow bloggers I have had a go at making the leaded windows for The Leaky Cauldron. 
I read lots of very helpful tutorials on the subject including Glenda's, who shows how to make all sorts of shaped windows using cotton thread. This is a fabulous tutorial creating very delicate frames. I was also directed to a wonderful blog by Victoria which showed how to use lead strips but I can't find the link anywhere. Lots of bloggers suggested using golf lead tape as a cheap and readily available resource.
I started by cutting individual templates for all the window panes on graph paper. Sounds easy but as all the windows are a different size and definitely not regular shapes. Took a bit longer than I expected!
Now I do like a quick fix and with this in mind I bought this product from Hobbyland that I thought was going to be the answer to my prayers. It is meant for creating stained glass for crafting.
I drew out two different designs and cut out the acetate. To prevent the acetate from slipping I used a little bit of double-sided sticky tape.
The idea is you simply draw on nice lines allow the Cerne Relief to dry and you have a leaded effect ready for glass paint.
 Well all I can say is I tried......It was all a bit to blobby for me. You have to have a very steady hand and keep a fine flow of the Cerne otherwise it is either too thick or too thin or there are air bubbles.
Plus it takes time to dry.
Complete disaster!! But I did use the best panel to try out different colours of glass paint. Always the optimist.
My next attempt involved the use of lead strip. I didn't buy golfer's lead because I saw a roll of sticky lead in a craft shop, again for stained glass work, which looked much the same thing and was about the same sort of price.
 As you can see the roll is huge, I have enough lead now for all my houses!! Same process as before with the graph paper, then I cut thin strips of the of the lead ready to stick to the acetate.
It was very easy to cut I only used normal scissors. I cut free hand and trimmed down to size.
First one complete!! The strips are not all the same size and may not all be straight but they add character!! I will remove the graph paper after I have aged the lead a bit.
This is the design I chose for the larger windows as I still want to be able to see inside the main house after the leading, the aging and the glass painting.
I have ordered some Liver of Sulphur Gel which apparently oxidises metal. I just hope they don't disintegrate on me!
Put in a good shift today and just have the bottom window left to finish, whoo hoo!