Wednesday 24 April 2013

Let The Light Shine on Slug and Jiggers......

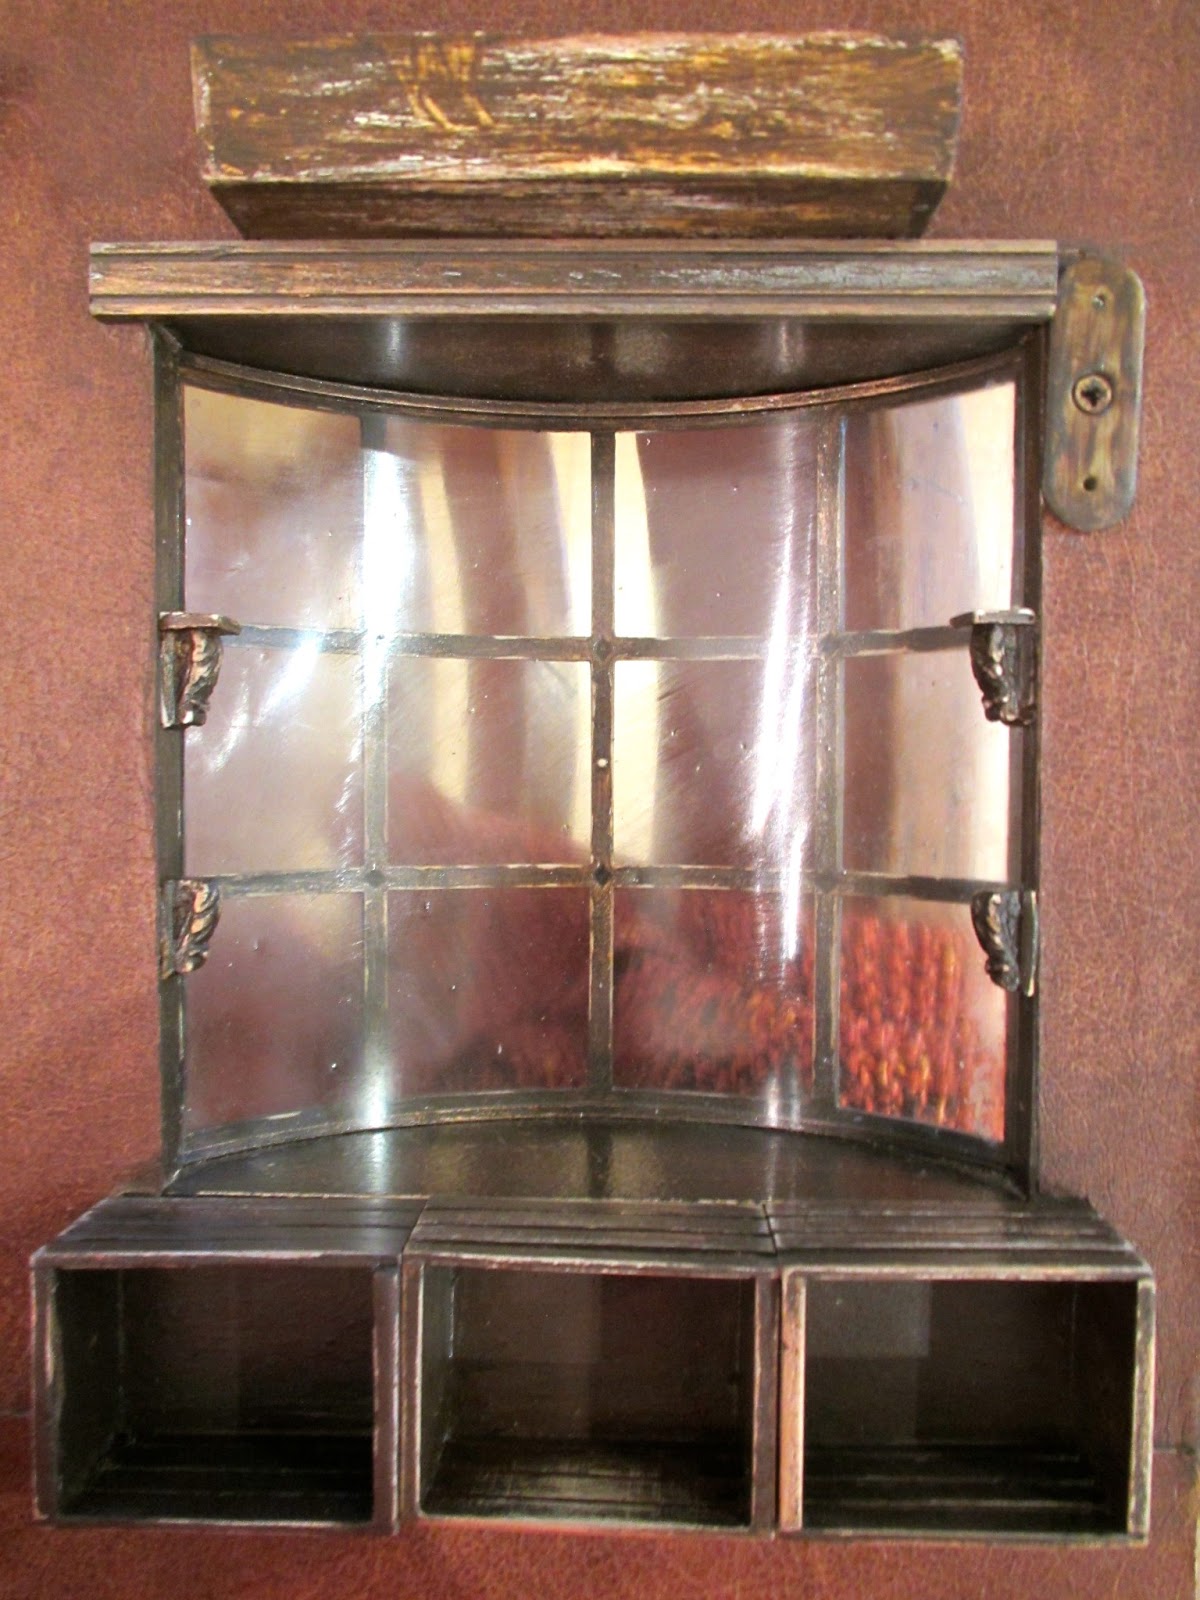
I have finished messing about with the LED lighting at last. I received the warm light strips I wanted from Small World Products. I chose three strips with 6 lights and three with 3 lights plus one for over the false door. These replaced the daylight ones that were too bright.
 Thanks to my helpful followers I have discovered that these lights can be toned down by adding a coat or two of acrylic paint and I have done this with all the strips. 
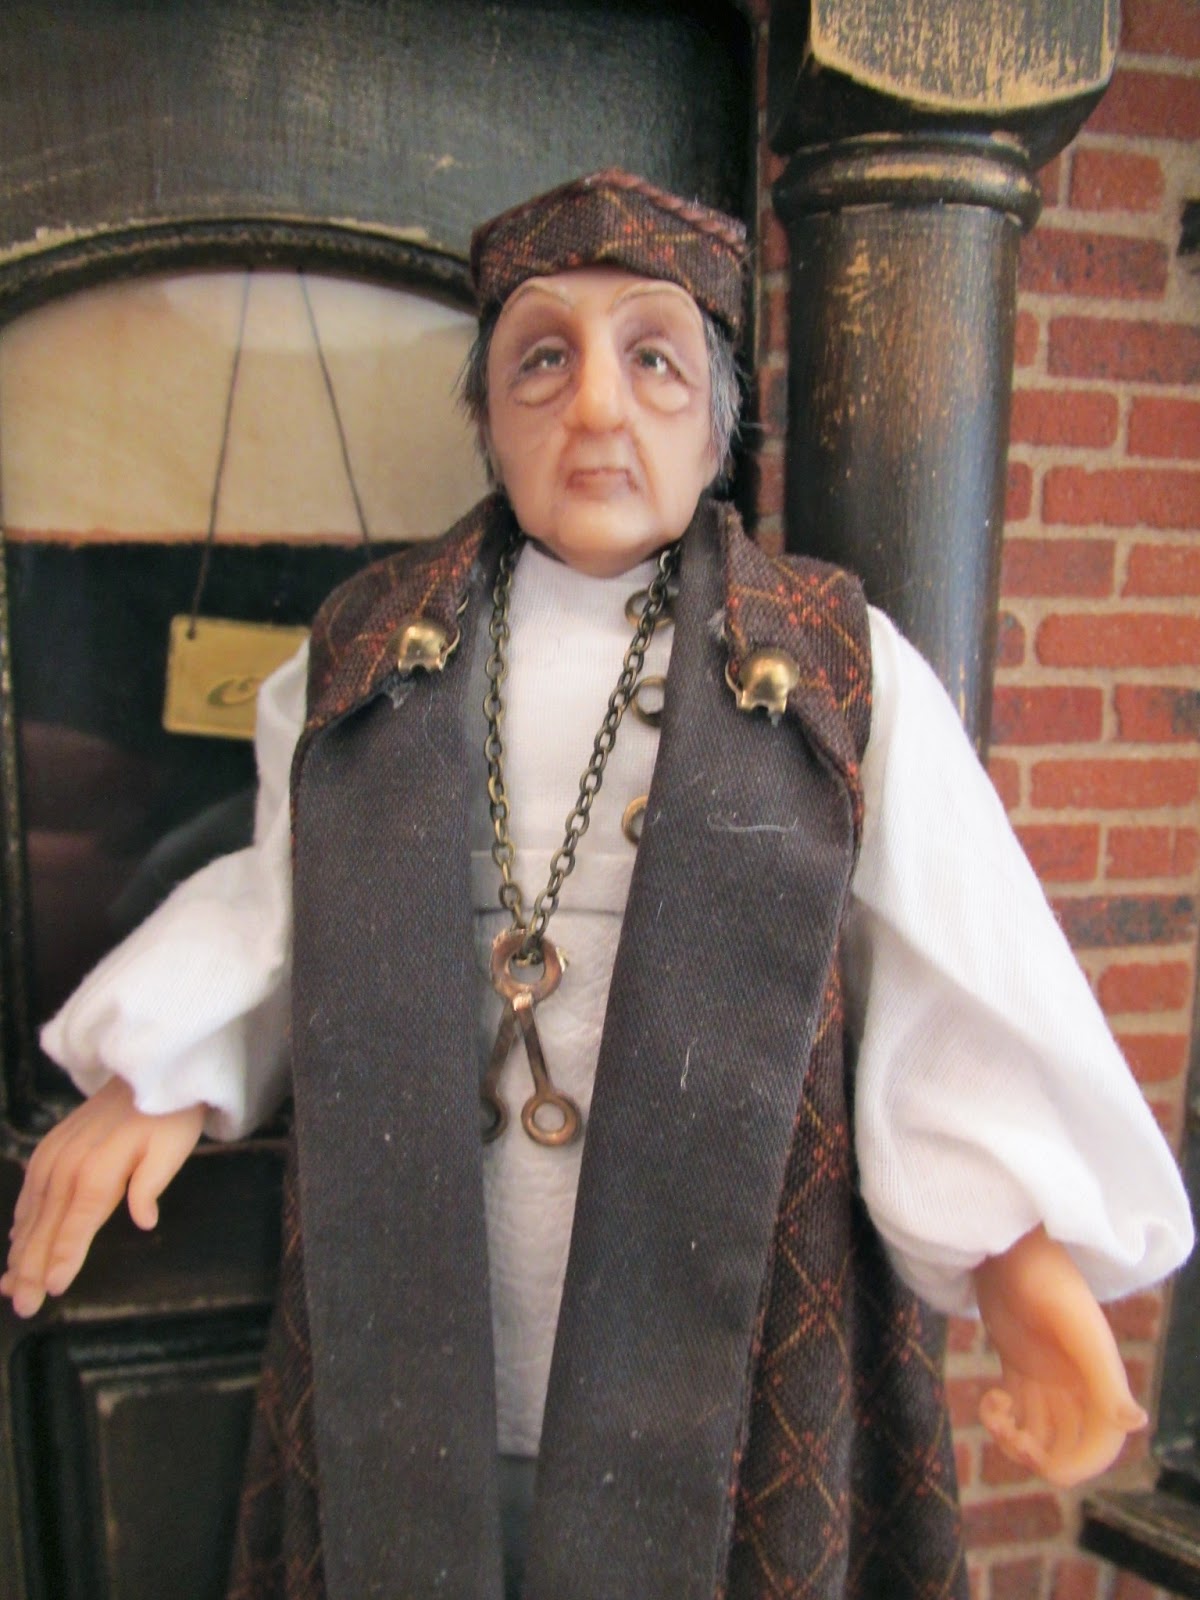
 I didn't want the lights to be too strong simply a way of highlighting the shelves and shedding a mysterious glow. I left a daylight strip behind the goblin to give the impression of a different room behind the door.
I have filled the last three corner crates with various flasks I have collected by Nikki Rowe, Julie Lawton and PixieDust Miniatures but I am not sure if this is the right place for them.
 What do you think? Should I continue with the glass theme of all the other shelves or do these flasks provide an interesting break from the other pieces?
 I have also purchased these gorgeous mortar and pestles from an extremely talented and helpful miniaturist Dave Williams of Harvington Miniatures. I asked Dave if he would make me a tiny mortar and pestle for my travelling potion case for display in the window of S&J and he instantly obliged. How kind is that!? There are lots of very interesting pieces on the website so please pop over and have a browse.
I finished off the plans for Honeydukes today and I hope I have thought of everything. It was a bit more complicated than I thought so I hope all me measurements are correct. If not I can always turn it into a wonky house!


Monday 22 April 2013

Shelves are Filled......A New Delivery at Slug and Jiggers

I have finally come to the end of what has been a very long potion making session but the first cabinets of Slug & Jiggers are filled. 
This shelving unit has all the artisan potion makers wares. All selected for their high quality and rareness!!
 There are potions, draughts and ingredients from the kitchen of Witch E.T. Grubb, the menagerie of Luna Lovegood, the laboratory of Wizard Gobalott and the workshop of Deadspider.
 The small jars I have simply put tiny runes as a written label would not have been readable. I have tried to include all the ingredients mentioned in the Harry Potter books in some shape or form.
 After printing and cutting I have used ink pads to edge each label in different colours to match the label: blue for Luna's, brown for Slug and Jiggers and so on.
 The left hand side unit is for all the branded Slug and Jiggers jars. I have also looked up magical animals from Harry Potter and any other magical types to use for ingredients and names. 
 I am really pleased I decided to follow the black lid path as I like the pristine uniformity of the shelves. 
 Apothecary Jiggers has been looking over the renovation and seems pretty happy with the first delivery!
The LED lighting is in place behind the shelves ready to be connected tomorrow and I am hoping the warmer light will light up the different colours of the jars casting a mysterious glow around the shop floor.
Then I will have fun looking through my stash to begin dressing the counter. What I am not doing for a while is making anymore potion jars!!!

Wednesday 17 April 2013

Apothecary Jiggers Arrives to View the Shop.......

I recently asked Jo Medvics of Pocket Pygmies if she would make me an Apothecary for Slug and Jiggers. Jo makes wonderful characters so I was delighted when she said she would love to give it a go.
Well he has arrived and exceeded all my expectations. I absolutely adore him.
 I had sent Jo a print of a medieval apothecary I found on the Internet for initial inspiration and I think he has the perfect medieval quirkiness I was hoping for.
 Jo always chooses fabulous fabrics too, he is a great match for the interior of Slug's and the chains are a super touch.
 The face is so expressive. He has a world weary, dour look as if he has had to deal with one to many Hogwarts student!
 I have a lot of characters now for The Alley but am slowing filling the gaps for key wizards or witches and Wizard Jiggers will soon be in place behind his counter.
Do take a look at Jo's etsy shop to view some of her current work or her FB page where you can see some of her own projects which are simply breath-taking

Monday 15 April 2013

Honeydukes Planning Continues.......The Spiral Staircase Has Landed!!

Ok, I know I haven't even finalised the plans yet, nor bought the MDF or even confirmed that the joiner will cut it for me but......I have a spiral staircase!! The last time I wanted a spiral, for Flourish & Blotts, I built a metal kit. This experience was definitely not good for my health.
 So when I saw the work of Vic Gonnelli I contacted him to see if his wonderful wooden staircase could be sent to the UK. Well as you can see it arrived on Saturday and it is perfect in every way.
 The cost even with postage has worked out less than the metal kit version amazingly as I would have had to purchase extra stairs for the kit in order to get the height required for Honeydukes.
 Of course I didn't tell Vic the whole truth, that I would be spraying it a very definite shade of pink!! Most importantly I will not take the risk of super gluing my fingers together....again!!
With the arrival of the staircase I had to have a little play with my cardboard model, despite the fact that I still haven't fully worked out the plans.
 This was how I had originally planned the ground floor but there is not any room for Bertie Botts and I feel Honeydukes has to have this cabinet somewhere.
 I have also found some 4 inch postal tubes that will be the basis for my very tall windows.
 Here I have taken out the double unit, replaced it with a single and the blank unit could be Bertie's display but this seemed to limit my sweetie shelves. All the units are from Ebay, already painted in cream which will be an ideal undercoat.
This option place the staircase tighter to the corner and side window very much like in the photographs I have seen of the the shop. This means I can have a double unit as well as Bertie's display. Plus I have room on the shop floor to add another display table for all the delicious jars and bowls full of sweeties.
Now I really should finalise the building plans and get to that joiner. Or I could just keep the cardboard one and play with that a while longer!!

Wednesday 10 April 2013

Slug and Jiggers......Sanding, Staining and Potion Making.

The upper floor furniture for Slug & Jiggers will all be dark wood, a combination of wood stains on unfinished white wood furniture. Plus a lot of sanding and elbow grease. I really wanted an apothecary cabinet with lots of little drawers all neatly labelled, obviously inspired by vintage cabinets and the wonderful miniatures by Jennifer Hatt of Looking Glass Miniatures.
 I had a long think about how I could create a piece myself and dug out this bookcase that was stained for another project and then never used. 
 Using my brilliant new table saw I first blocked up the bottom three shelves.....
 ......then cut out lots of small pieces for false drawer fronts, they are 1.5cm wide.
 I have lined them all up and simply glued the whole panel to the front of the bookcase.
Now I have given the false front a first stain to match the whole bookcase and I think it will work out quite well. I will finish the staining and sanding then add tiny drawer handles and labels. In an ideal world I would have loved to have opening drawers stuffed full of potion ingredients and aged scrolls but a table saw a carpenter does not make!!
 Lots of shelving obviously means lots of potion jars and I have also been busy with these. I had thought I had made quite a few last time around but this project is eating them up at an alarming rate.
They are all different sizes to try and add some variety and filled with a mixture of herbs, beads, scenic  and solid water plus anything else I found lying around my workshop. They will all have a black lid and label......eventually!!

Thursday 4 April 2013

Moving On....Top Floor of Slug and Jiggers....Plus a Bench Top Power Tool for the Feint Hearted

Having fiddled around with the front opening panel for more than enough time this week I decided to start thinking about the upper floor which I hope will be markedly different to the organised lower floor. This is where potions and ingredients are made, deliveries unpacked and accidents happen!
I have been collecting pieces of whitewood furniture for a while and decided to have a play with the pieces that feel right for this room.
First I decided to place my second dressed door, this one by Julie Campbell.
 This visiting ghost looks ever so slightly vague, as if she has forgotten where she left her shopping! 
Now I need to place the furniture around her. This was scene one....
 .....scene two....
 .....scene three. I think I like this one best as it doesn't hide the door too much. All the pieces will aged and painted much more rustically than down stairs. I will also add a work top to the front counter to make it look much more like a working bench. I have chosen this piece as it has lots of little drawers that can be filled with ingredients for my potion makers. There will also be lots of packaging boxes in the corners to avoid having horrible empty dead space.
 I also lit up the downstairs door. I hope you can see the  creepy shadow that the bright light leaves on the floor.
 Looks like some mad experiment or explosion is taking place just beyond this door!!
 Played with the LED lighting too, not a success. I wired everything up and they all worked perfectly but they were just too bright. I have chosen to put my lights behind the shelving to highlight all the potion jars but the white light of these LED's is just too strong. 
I will have to order the warm light version tomorrow and save the others for another project.
I buy my lighting products from SWP so I could wait until KDF but I really want to set up the potion shelves......hopefully they will arrive next week.
In the meantime I have the upstairs furniture to age and a new toy to learn how to use.
This is a Proxxon KS 230E Saw from Bromley Craft Products and I wish I had bought one two years ago when I started Diagon Alley. All that wood I have struggled to saw with a variety of mitre boxes and hand saws. I think I have spent more in replacement blades than this little honey cost.
It is compact and very lightweight and soooo quick!!
Haven't quite worked out how to use the angle thingy yet. I managed one end of a piece of cornice but couldn't for the life of me work out how to do the other end.....back to the saw!!
I will try and take some action photos although to be honest power tools, even small ones scare the daylights out of me, and I am terrified that any lack of concentration may result in a trip to A&E!!


Wednesday 3 April 2013

Finishing off the Door Panel of Slug and Jiggers.....

It never ceases to amaze me how long it takes for me to get even the smallest of tasks done. I have been working on the door panel of the shop floor. I like to dress the opening front panel of my houses  as it finishes off the whole look of the room, as well as providing lots more show space!!
 I have topped each window with a window box and moulding and added simple crates below each window for more display.
 Coming back to this project after quite a long while has made me realise how important it is to plan each step of the way. As you can see I have placed the magnetic catch too close to the top of the window. This means I have have had to cut the top moulding short. Urghh!! I can't move the catch because of the holes it will leave in the wallpaper. 
 I have put a blind on the window, an idea I have stolen from Debbie Wright of Tiny Treasures, whose Honeydukes project is a source of inspiration for me at the moment. Thanks Debbie!! I made a real mess of the hinges on this door having first put them in incorrectly. I have used wood filler and touched the door up as best I can but it is a bit of a bodge. Luckily the moulding hides the worst of it.
 Each window will have two shelves for display and I have used tiny brackets by Sue Cooke and will attach the shelves once I have placed the central window display. 
I have also decided where the LED light strips will go and drilled the appropriate holes, this small strip will light up the gap behind the false door so it will not be seen at all.
Another huge mistake I made with all these Diagon Alley shops was not to make notes as I went a long, too much shopping and not enough forward thinking!!
I did not make a note of what paints I used, how I used them and how I finished the painting off. This has meant that it has been a complete case of trail and error trying to match up the extra pieces I wanted, like the crates. I am hoping the mis-match won't be too noticeable once I start filling everything up!!
Now where's my note book!!??