Monday, 5 January 2015

The Garden Workshop Interior....

We got back from our New Year break late yesterday evening and the first thing I did was visit the workshop to see if the oil-filled radiator had kept the room warm.
 This radiator came with the build and looked rather small to me but when I went in to check late last night the room was very warm and toastie. This one doesn't come with a built in timer so I bought one of these plug timers and my other half set it to come on twice a day I think. I am terrible with these sort of gadgets so I am always better asking for help and he enjoys it when he can come on all Alpha!!
 This is what also greeted me, a whole pile of Ikea boxes. These contain all the fixtures for my cupboards. I agonised for weeks over the design of the room as I know you only get one chance to make it right. I knew I wanted lots of drawers and no cupboards mainly because drawers work best for me in that everything is much more accessible.
 I ended up choosing the Ikea Veddinge white basic units for the reasons of price and the fact that the Ikea kitchen range was the only one that had a vast choice of drawer units perfect for me. Ordering all what I needed was a challenge and involved a number of visits to my nearest Ikea store at Lakeside, about a 35 minute drive for me normally. 
Now they just have to be built!!
 Obviously one of my main requirements of the workshop is good light I have opted for the track lights with LED daylight bulbs. These can be adjusted to point where you want which is helpful. Unfortunately there was a mistake when my bulbs were packed so at the moment I only have five of the daylight bulbs, you can see the difference with the normal bulbs. These will be replaced when the LED bulbs arrive next Monday. 
 The build also has a proper independent fuse box which should mean there will be little chance of electrical failure!
 Now I wanted to have some small open wall units put on the walls to house things like shop and room boxes and I have ordered some to sit above the houses. I didn't, however, take note of how the track lights work and hadn't appreciated that the wall height would be compromised.

 At one end of the room they also have a transformer unit and these certainly mean I can't have the open cabinets above the dolls houses on the worktop. I haven't decided how to over come this problem yet I will have to wait and see once the cabinets are in situ I think.
 As you can see my moggy is perfectly at home already!! I could chose between carpet tiles or laminate for the flooring and quite obviously chose the laminate as it will be much easier to keep clean.
 As part of the outside softening I bought these zinc planters on one of my Ikea visits. They will eventually be planted up with something very easy growing as I am no great gardener and will forget to water them in next to no time.
 This morning my lovely, helpful chippie arrived and took all the boxes in his stride. In no time at all the units began to take shape. This is the only cupboard I chose because it had to go in the corner but it does have a carousel so I won't lose things to any dark back corners.
 The units are L-shaped with two long work top areas to house my collection of houses.and my all important mini fridge! 
This is one of the reasons the Ikea range was ideal, they supply an 8-drawer unit which at 10cm high are perfect for tools, paints or papers. I won't have to go rummaging about trying to find things they should all be completely accessible. Famous last words!!
Really pleased with the progress today. Still a little concerned by how I am going to layout the work tables. I should have lots of room but it seems to be filling up fast!
Won't be long now before the big clear out begins!

Saturday, 3 January 2015

Must Do Better......

I have decided that 2015 is going to be the year I return to my Blog with more dedication. This blog was always meant to be an account of my dolls houses and miniatures. A record of both my purchases and my own attempts to create all things mini.
Somewhere along the line I have been seduced by the ease of FaceBook and Pinterest even though I rarely comment and often find little of interest. I think they have both suited the general malaise that seems to have settled on me during 2014.
I am currently spending the opening days of this new year in my most favourite place in all the world, Wells Next the Sea, Norfolk, doing what I love most...
.....walking on a beautiful beach with my two little shadows. It has been great to get away from absolutely everything, it has also given me lots of time to think, very dangerous for someone with an addictive hobby and 24 hour access to the Internet!!
One of the main problems I have encountered during 2014 was the return of my two youngest children after their university years. Like many families they are home because moving out is too expensive and neither of them is 'settled' yet. Which is absolutely fine but I have rather taken over their bedrooms in the last four years and wasn't quite prepared for the changes it would make to my rather quiet and dare I say it, self-indulgent life. Now I seem to have returned to being a full-time mum with all the baggage that entails. Lovely in some ways but very time-consuming.
So what have I done to change the problems that have prevented me from playing with my toys? 
It has become obvious that someone as selfish and inherently unsociable as me needs a little more space than is currently available in our house. We can't move because of my husband's job and family restrictions but I can build in the garden.
My research started in October when I started looking on line at all the variations that are available for garden studios and workshops. I soon discovered that there were a lot of companies with many different designs so I had to decide what my priorities were as the costs also varied amazingly.
Obviously I needed lots of light and space. My garden is a typical village garden definitely not huge but I worked out I could just get away with a 5.5m by 3.5m maximum. This would allow for some space all the way round and avoid issues with planning as long as the building height did not go above 2.5m.
Another important factor was insulation, I did not want there to be a chance of any damp in the building and it will need to retain heat during the long chilly months.
Gradually I started to build a list of possible companies who fulfilled most of my wish list.
What else did my wish list contain? The room would need electrics for plugs, heating and lighting, an easy clean floor, Internet connection and the whole structure should require very little maintenance. I also wanted a 'turn key' company as I find getting in local builders in our area is a road that leads to frustration and despair.
 On the 31st of October, my birthday, my long-suffering and very generous husband drove us to visit the showroom of the company of my choice, The Garden Office, we were really impressed with the rooms we saw displayed and booked an installation there and then.
 Installation was booked for the 22nd of December so we spent two weeks clearing our garden of every shrub, bush, tree and plant in order to create a blank canvas for the new room. Luckily the weather was kind to us and we managed to pot up most of the plants ready to put back in the spring.
 On the 18th of December the concrete plinths were dug and poured and a channel dug for the electrics and Ethernet connections. Then on the 22nd of December my building arrived along with the tidiest, least problematic work team I have ever encountered. One of the reasons the building goes up so quickly is that it is mostly built off-site in their factory.
 By end of the first day the building was water tight and fully erected. Amazing. The French doors are the only natural light source but are 2.8m wide so should be big enough with the addition of the interior lights.
 On the second day all the fiddly bits were tackled like the electrics and interior woodwork.
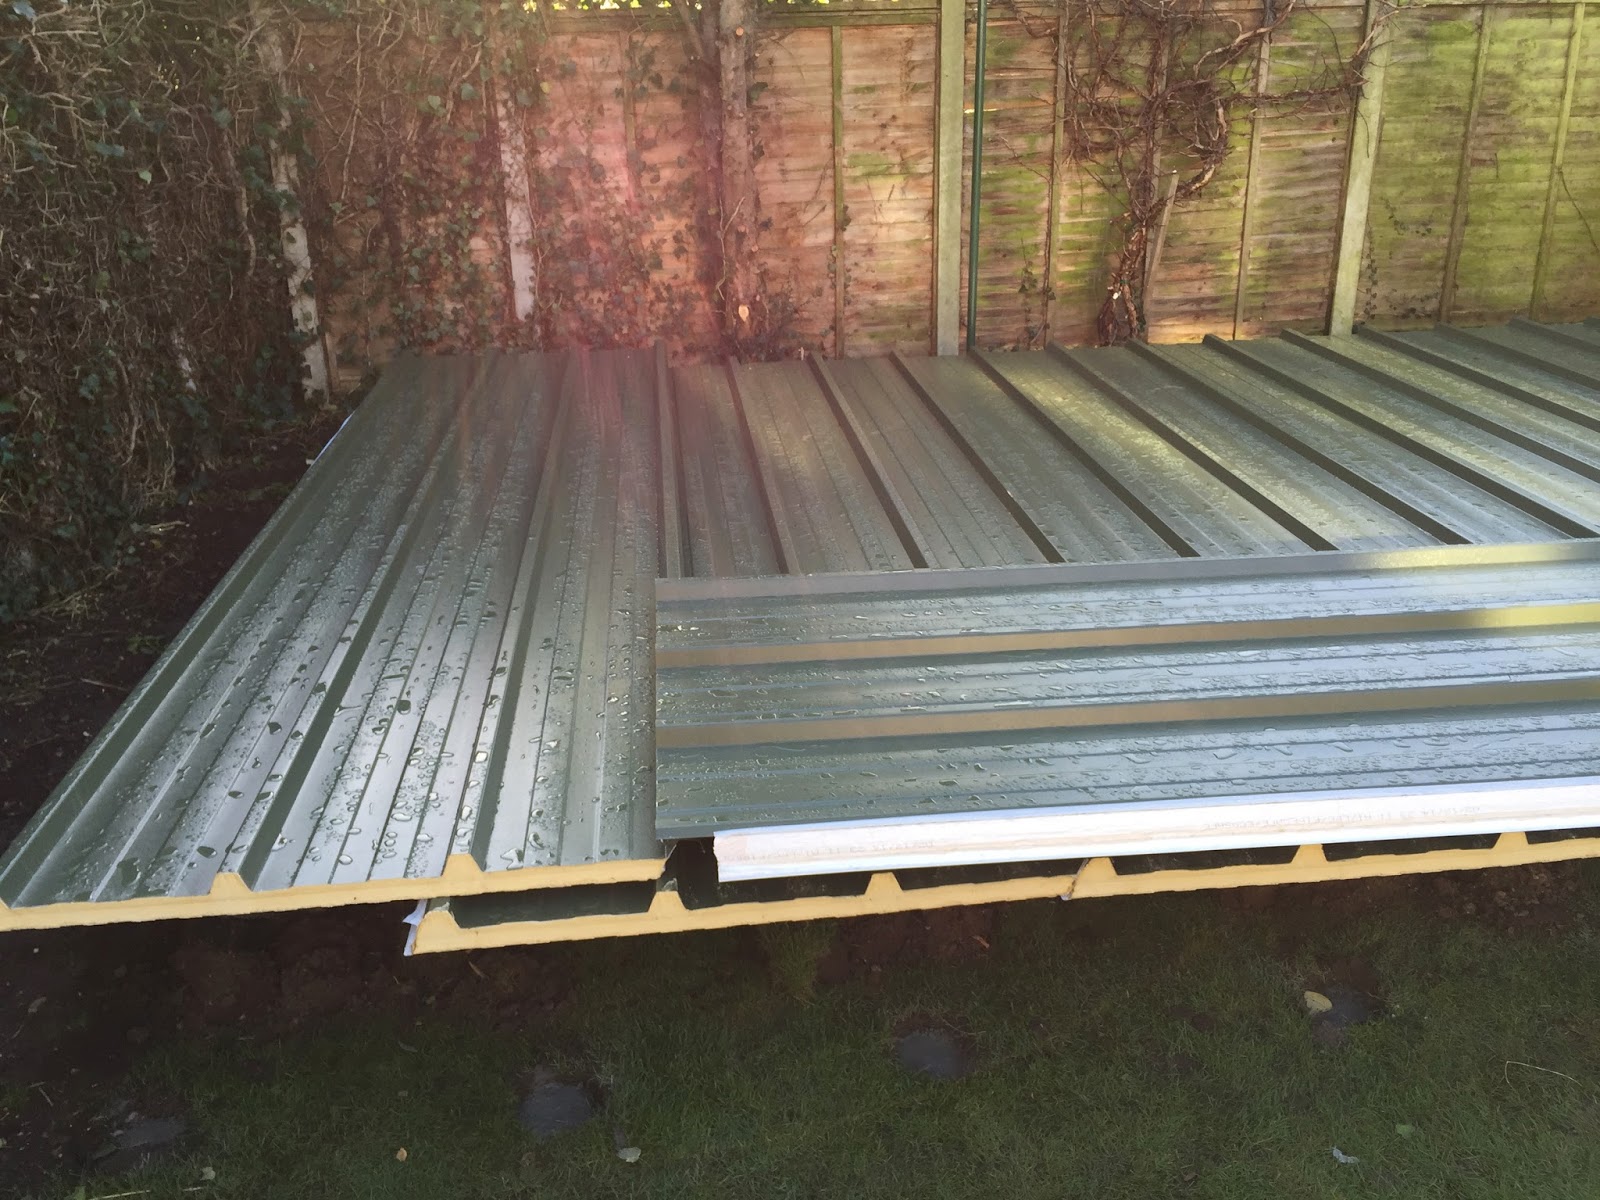
This is how the garden looked after they had finished before they left they even swept up the sawdust and of course removed their ladder. I was so pleased with the whole construction.
Then along came Christmas, an Ikea delivery and our trip to Norfolk so no interior pictures yet.
I know the building isn't very pretty and I did hanker after a delightfully gorgeous 'cottage' workshop but I couldn't find a company who fulfilled my wish list with that type of building.
I think once we plant around it, the building edges will soften and it won't look so much like a holiday chalet!!
Big To Do list for January but what a brilliant way to start a new year. More pictures to follow, carpenter arriving Monday morning to start installing my units and worktops.
Happy New Year to you all and I look forward to a much more productive year.


Wednesday, 17 September 2014

All Things Honeydukes......

Where has this year gone? Well for me it's been a year that has fully confirmed that I am a member of the "Sandwich Generation", I no sooner get one of the children sorted before an increasingly elderly parent demands my time, money or energy. There seems to have been very little time for me over the past few months further complicated by the addition of a new puppy who, while adorable, has proved as mad as a bucket of frogs!!
I have made very slow progress with Honeydukes but am getting there bit by bit. In fact I have made a resolution this week that if I am going to remain sane I have to allow myself the time to do what I really enjoy, which is playing with my toys ensconced at home with the phone off and the doors closed for at least a couple of hours a day.
So, where am I now......
 The outside brickwork has more or less been completed. The pavement has been laid, grouted and sealed.
 The brickwork on all three sides has been laid....
 grouted and washed within an inch of its life.
This was an incredibly time consuming process because of the rough facing stonework. I tore my fingertips to pieces doing this with a mixture of sponges and nail brushes. I am dreading doing the chimneys.
 It was also fiddly around the windows a door but I just couldn't see an easier way to accomplish the look.
 Once I was finally happy that all the excess grouting had been removed I tries to age the corners and edges with acrylic washes. This technique is not my strong point as I am so cowardly with the paint. Plus this is real stone so it should have its own definition. The last task was three layers of a PVA was to give it a shine and strengthen the whole structure.
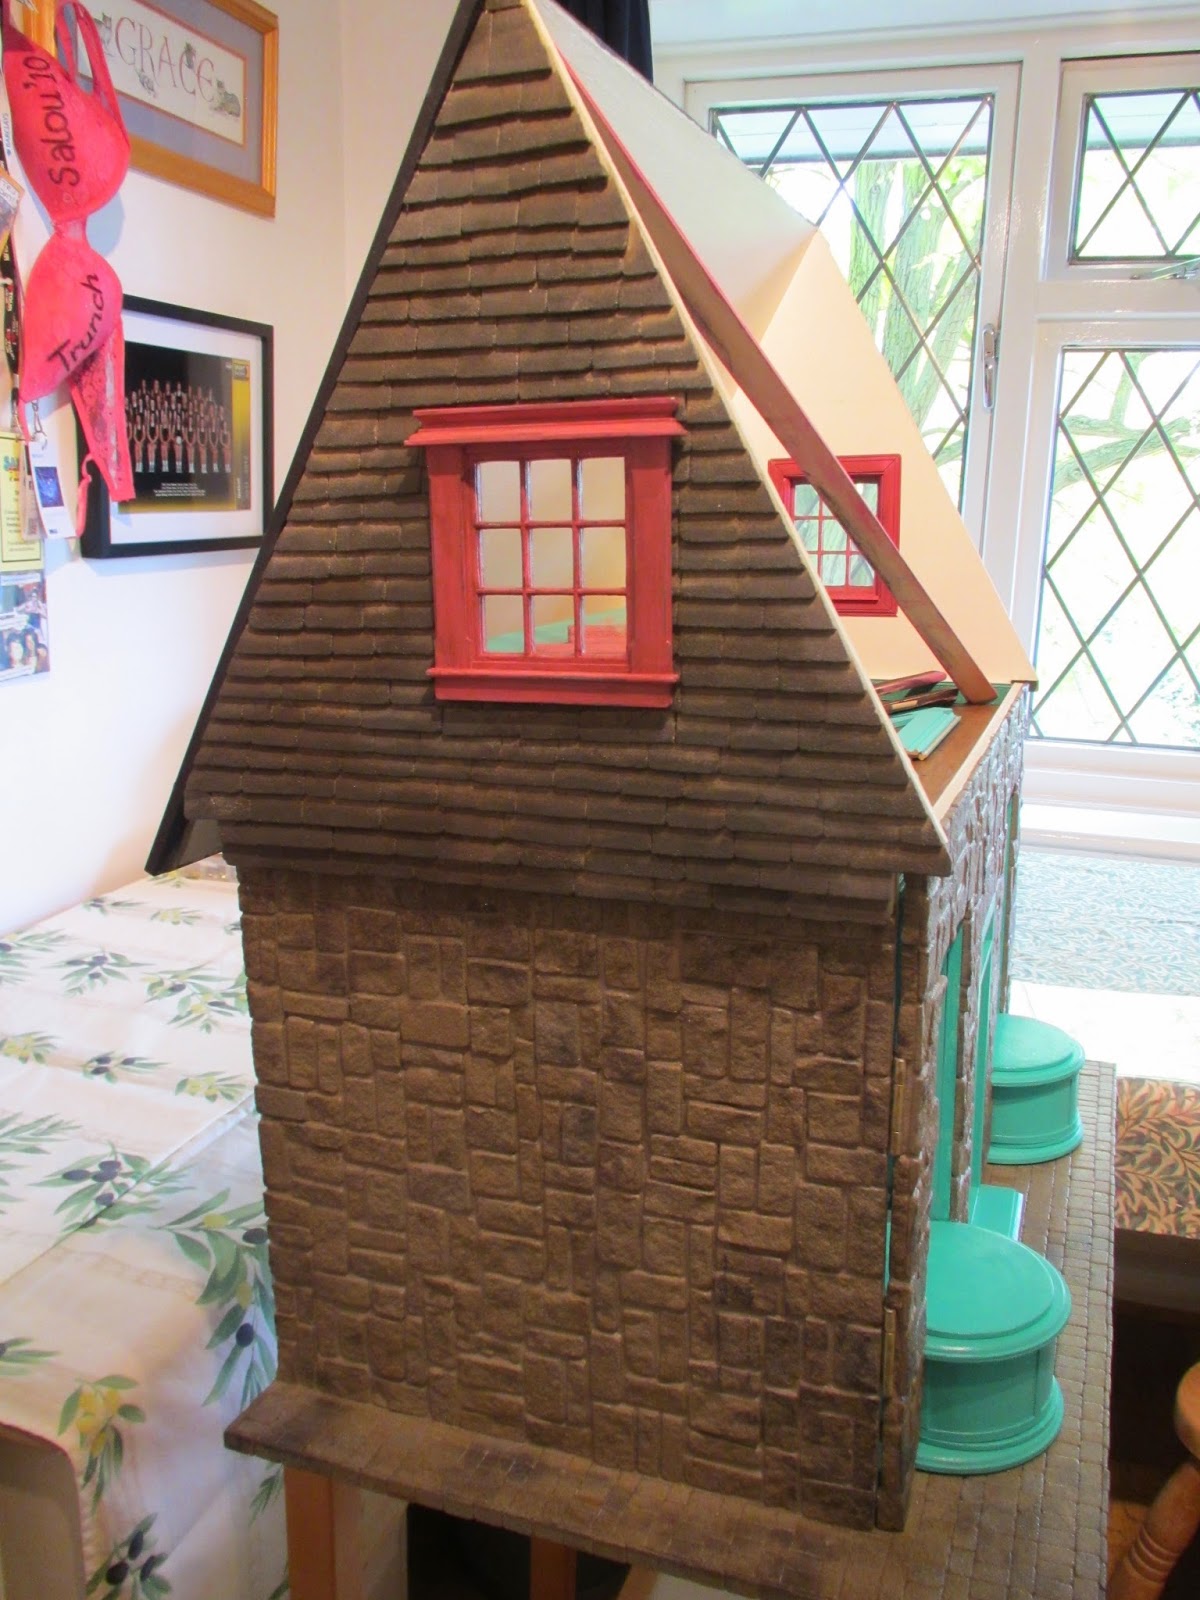
 This whole building was designed from scratch as a 'copy' of the Honeydukes at Universal Studios so each stage has been a bit of a fingers crossed moment but the side/roof pieces fit into place quite nicely. They will be held in place by the back roof as well so they should stand up well.
 Then I began layering more stone slates but no grouting this time thank goodness. 
I have gone for an aged pink upper floor although not too dingy as I thought the contrast might be too great as the green shop floor has not been aged at all.
 The roof has lots of dormer windows including one very large window. All these have been painted and slightly aged. This seemed to take forever and I still have the dormers to make along with all the chimneys. I am quite looking forward to the challenge of these constructions as they will all be quite new experiences for me.
 The upper floor will essentially be a storage area for all the sweets with maybe a small area for sweet making. I have not really decided yet. I have built a panelled false wall to cover up a slight design fault and also the fill up the angled roof space. 
The flooring is oak floorboards and the cut out is for the pink spiral stair case. You can see the difference in the clean green of the lower floor against the dirty green of the storage room. I think the walls also need a dirty wash as they are a bit pristine at the moment. The flooring can be removed as for the first time I have routed channels for the lighting. This came about because I had to have brass ceiling lights in the shop area. I am not very competent with my Dremel and the routing is awful but it should do the job and can't be seen. 
So, still lots to do but I have broken the back of the main construction now. With a fair wind behind me and a period of good health for my oldies I should be able to crack on with it. 
I hope life has been treating you all well and maybe I will meet some of you at Miniatura this weekend my first show of the year and I can't wait!!

Monday, 15 September 2014

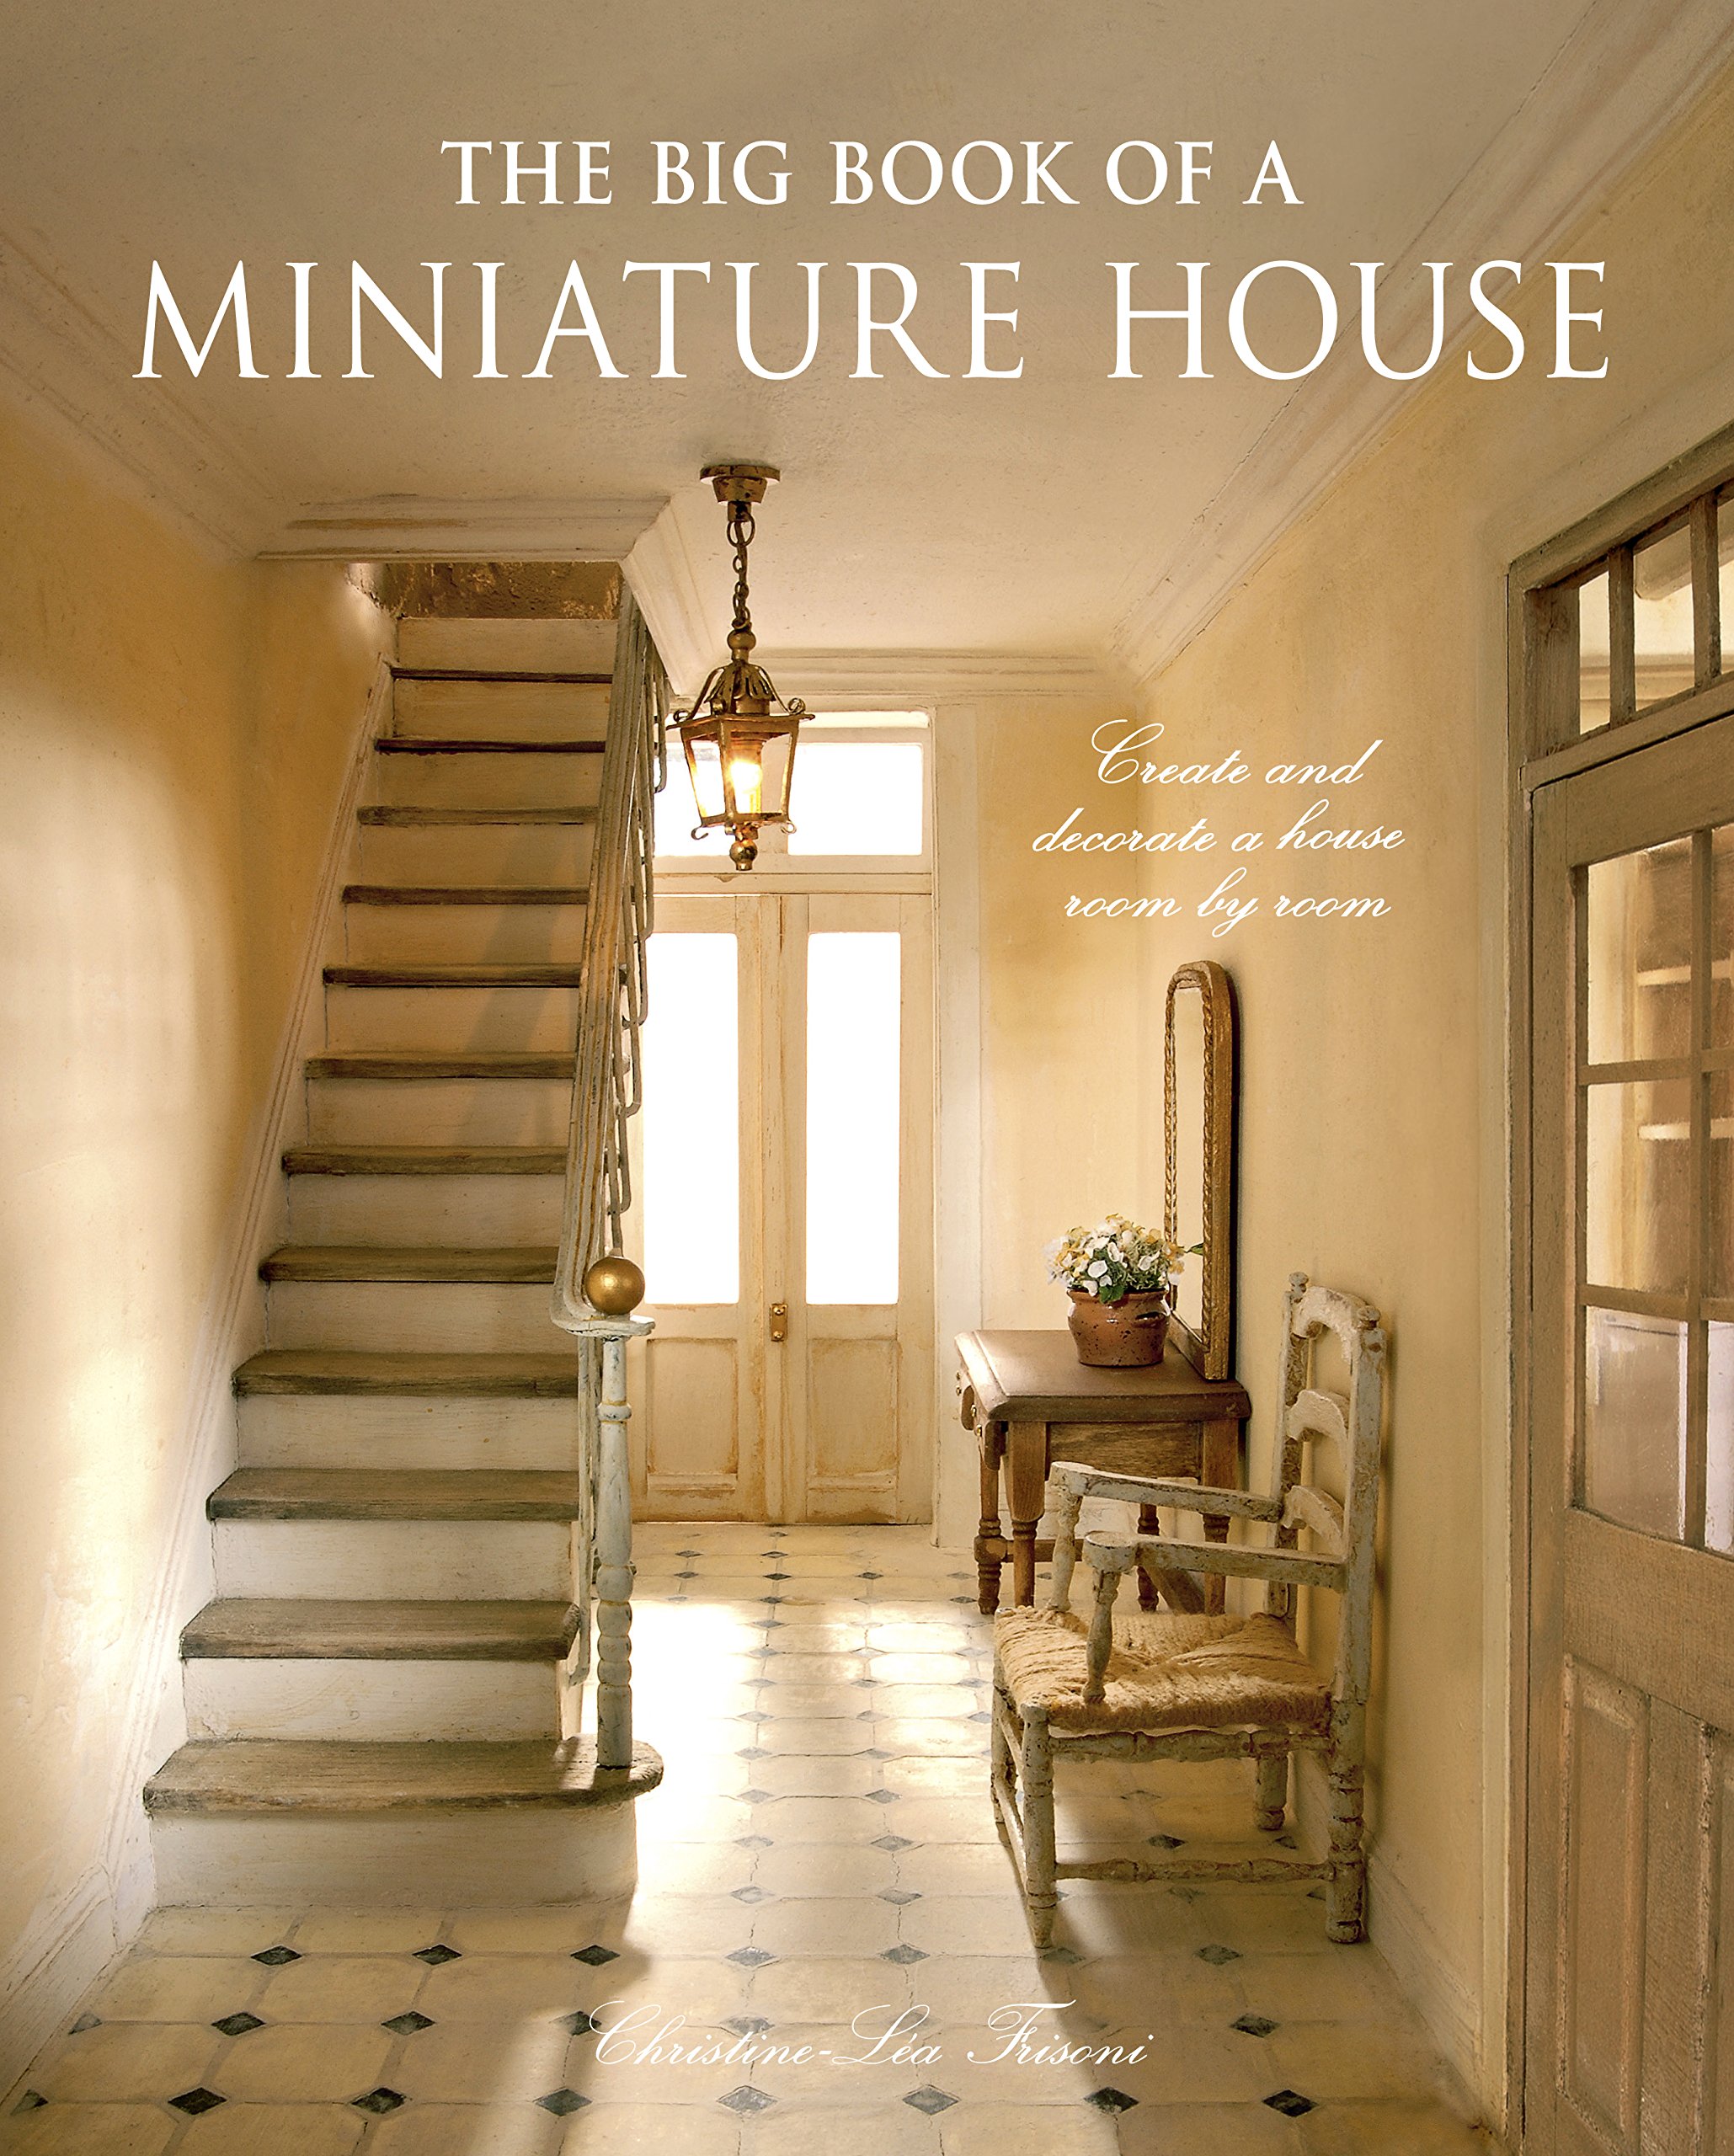
A Book for all Miniaturists and Anyone Who Admires Beautiful Things....The Big Book of a Miniature House by Christine-Lea Frisone


I have long been an admirer of the wonderful work of the French miniaturist Christine-Léa Frisoni and at last her book is available in English. This book is a beautifully presented and full of advice, tips and techniques perfect for all levels of miniaturists. It provides clear step by step instructions on how to build and decorate a beautiful twelfth scale house but is also a perfect reference book for anyone who wants to learn Lea's gorgeous methods of building, furniture making and decorating.

The book begins by making the plans for the house and clearly showing all the materials required for the project. The most interesting part about this process for me was how much Lea uses normal art products from Bristol board to plain strip wood. Her tools are not fancy power tools and I found it very helpful to be shown how beautiful houses could be built so simply. Once the main construction has been completed we are then shown how to build up each room by adding chimney stacks, panelling, cornices and eye-catching details. The main point that Lea makes is that you have to plan and take time with even the smallest details but if you measure and cut accurately you will be able to produce interesting rooms to decorate and fill with your own miniature pieces. It appears that anything can be achieved with card, paint and imagination.

This book is also very pleasant on the eye. It is extremely well photographed and would sit very comfortably on any coffee table alongside any real life book of interiors. Each process and room are clearly shown in full colour with every detail brought to life and designed to inspire both beginners and those of us who have been playing with miniatures for a while. All the interior rooms have different flooring and each technique is carefully photographed and explained at each stage. These careful and thorough explanations are perfect for someone like me who is not hugely confident with a paint brush or craft knife.  

I have not been able to put the book down yet, every time I open it I seem to learn something different. I can't wait to put the building techniques to good use, I will certainly be adding panelling to my rooms in the future following Lea's instructions. I want to try making the furniture and individual lights but most of all I want to learn Lea's art of 'less is more'. It is the layering of processes and materials that I will take away with me and return to time and again. This book inspires it has also taught me so much that I can take into my many projects I just love it, also it is a book to enjoy as well as to learn from.

Put it on your birthday wish and Christmas wish lists 'The Big Book of a Miniature House' by Christine-Lea Frisini or it is the perfect present for the friend who just doesn't understand the amount of time we spend playing with our 'toys'!! 


Monday, 7 April 2014

Back From the Desert Across the Pond.......California Trip 2014

It has been a very long month in lots of ways. I have packed my 22 year old daughter off for a year to work on a specialist cruise liner, she will be taking groups of tourists around the archaeological sites of Europe. You know the type of thing: " It's Tuesday, it must be Ancient Greece". She has a Masters in Archaeology and saw this as a great way to visit all the sites she has read about during the last four years. Here she is learning how to put out fires as part of the boat safety training, doesn't quite send home the right message!
No sooner had I waved off my lovely daughter than I was packing my suitcases for our bi-annual road trip. This time my better half had decided that we would follow the gold trail to California. As some of you are aware I am not a great traveller but the old boy works hard to keep me in miniatures so I try and pack my bags with good grace.
Well I am now home and over the jet lag, more or less unpacked and thinking of all the things I would have done differently as you always do. Here is a small selection of the places we visited and the things we saw.
This was our beautiful base in Palm Desert, about two and a half hours from Los Angeles, surrounded by the palm trees that have given this area it's name and style. This is a golfing and tennis community near Palm Springs and indeed it is smack bang in the middle of the desert.
 Our first trip was to Temecula Old Town. Essentially a pioneer town of the 1880's which despite a huge expansion in the last thirty years is trying to recapture it's historical background. I could not quite work out if any of these buildings were in fact old but they were cute.
We also had a fabulous breakfast here in a traditional diner that first opened in 1957 and I am pretty sure had not seen a makeover since. Pancakes to die for
 Indian Wells Tennis Centre saw us sitting in amazing sunshine for a two day visit. We have been to quite a few tournaments and the setting of this one, in a desert surrounded by mountains was pretty spectacular. It had a very relaxed atmosphere and was not as crowded as some of the bigger tournaments are.
The Palm Springs Ariel Tramway is very popular with both locals and tourists. It takes you from the 90 degree desert floor......
 .......up to the top of a very chilly 40 degree mountain chalet, where we had a lunch with a view. As you can see I was a little under-dressed for the snow!!
 Of course when in Palm Springs you have to pay homage to Marilyn and have a frappacino in the Starbucks right next door.
For the next week we would be hitting the road for our all-American road trip, two thousand miles through California, Arizona and Nevada. Miles and miles of, well not a lot really, except sand, gravel and dirt plus the odd cow or shack. Goodness America is a big place.
First stop, the Grand Canyon with the Pink Jeep Company. We decided not to drive there ourselves but to go via Sedona and give the old man a day off driving so he could sit back and enjoy a few glasses of Californian wine.
 The red rock mountains of Sedona were absolutely spectacularly beautiful. The back drop of all the most iconic westerns I watched as a child, so familiar I immediately felt at home in this Western themed town. 
 While in the area we also visited Jerome an old mining town with a reputation for bad behaviour late in the Nineteenth Century. This town sits high up in the mountains and this picture shows one of the town's bordellos perched on the mountain edge. I love the wrap around verandahs a definite idea for a miniature project. 
 Next stop Las Vegas and here is the night time view from our 54th floor hotel room at the Wynn Encore. 
 The show stopping wonderland of the Wynn and Encore.
 Lighting Alice in Wonderland style.
 Giant sparkling butterflies and balloons in a hallway.
 A flower wonderland to hide the casino.....
.......with a fantasy tree lined avenue.
Yep the Wynn hotels were pretty amazing and the Strip is long, colourful, heaving with people and I could not wait to leave.
I really did not like Las Vegas at all. Glad I saw this 7th Wonder of the Modern World, will never go back.
 Broke the long drive back to Palm Desert with a trip to Calico ghost town which was small but perfectly formed.
 Time to rest those weary bones after traipsing round Vegas. Love the bench!
Our last organised event was to watch the Mighty Ducks ice-hockey team in Los Angeles. That was really good fun but incredibly bitty compared to the sport I watch every week and so noisy with continual music breaks as they swept the ice every 2 minutes or so.
What I did discover is that US sport is as equally expensive for a fan as it is here.
Tickets, food and clothing all top prices.
This left a few days of shopping and chilling by the pool which pleased my husband immensely as he  is definitely a lizard at heart. I didn't buy as much mini stuff as I thought I would mainly because we just didn't have the time to visit the areas where the dolls house shops were, I always forget how huge America is plus like the UK internet shopping has taken over from the high street in an even bigger way. If I had planned better I could have ordered more online and had it sent to the house we were staying in. Next time......
On the plus side my kids are very happy. Converse, Vans, Levis, Abercrombie, Uggs and Ralph Lauren are all hugely cheaper in the US so they will have a great time unpacking their goodies.
So now I am back home, it's been raining on and off all day and I don't care because tomorrow I will return to my Honeydukes project and my youngest is coming home for Easter.
Happy Days!!


Friday, 14 February 2014

California Here I Come........

In a couple of weeks I will be travelling from wet and windy England to the sun of California. 
I will be staying in Palm Springs and visiting the surrounding areas plus San Diego, Sedona and Las Vegas. 
Sooooo, where are the best places a craft hoarder and miniature collector should shop? I know there are lots of hobby and craft shops and I have a very patient husband.
All suggestions will be very gratefully received.